Khởi chạy CloudShell
Khởi chạy CloudShell
- Truy cập vào giao diện AWS Management Console
- Tìm CloudShell.
- Chọn CloudShell.
- Đợi một lát để AWS CloudShell khởi tạo môi trường (thường mất khoảng 10-30 giây).
Giao diện môi trường dòng lệnh hiện ra. CloudShell đã được tích hợp sẵn AWS CLI và bạn đã được xác thực tự động với quyền của IAM User bạn đang đăng nhập.
Copy và Paste đoạn lệnh dưới đây vào Terminal của CloudShell để cài đặt các công cụ hỗ trợ xử lý text trên dòng lệnh.
sudo yum -y install jq gettext bash-completion
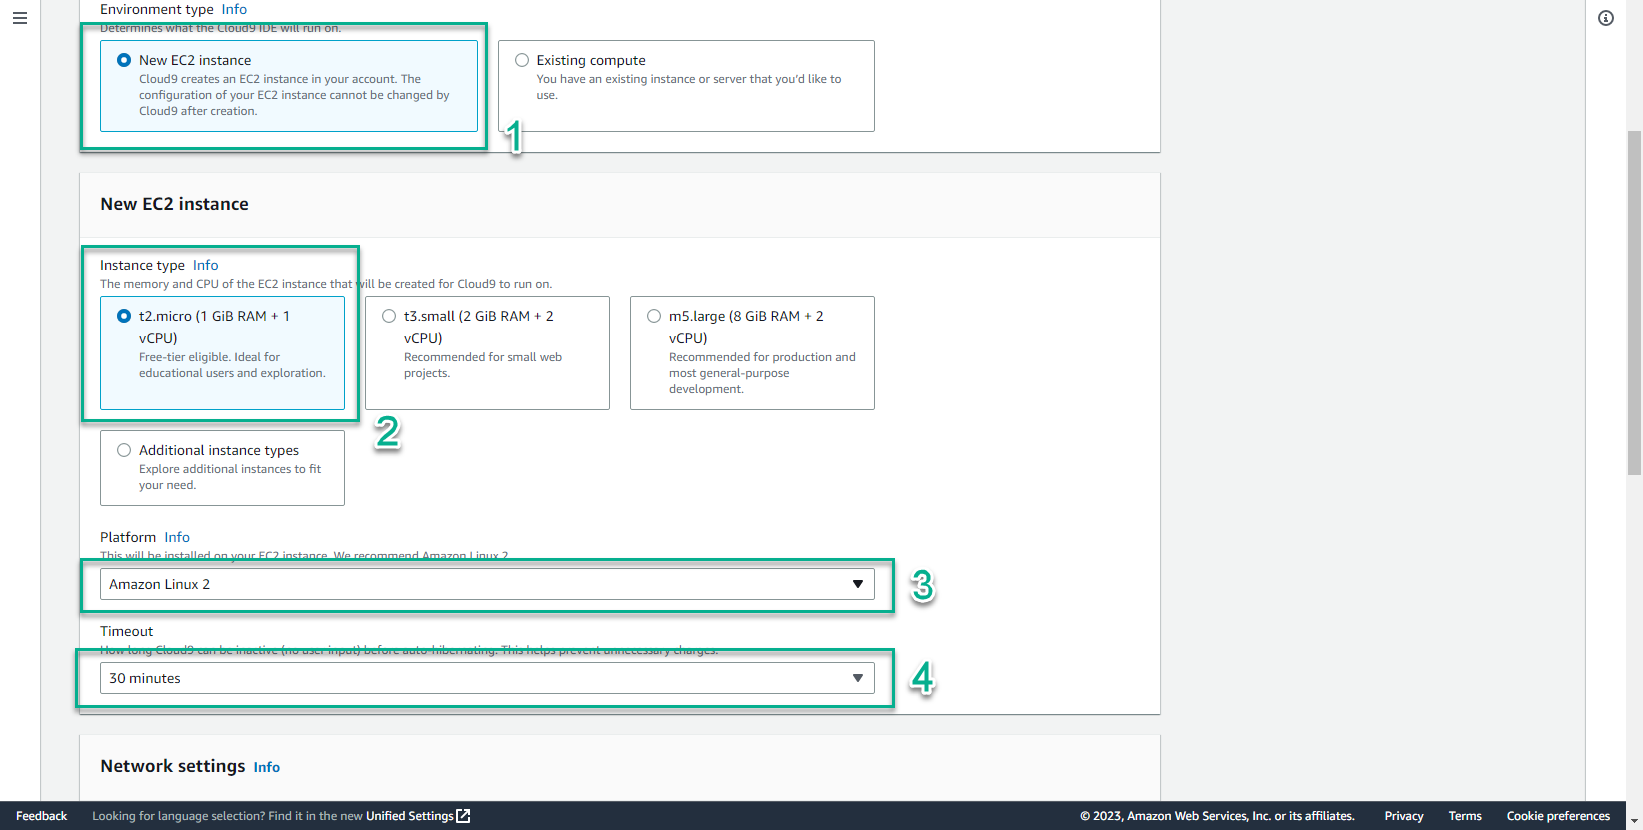
- Thực hiện cài đặt tool cfn-lint - là công cụ giúp bạn kiểm tra CloudFormation yaml/json templates và các thông tin khác.
pip install cfn-lint
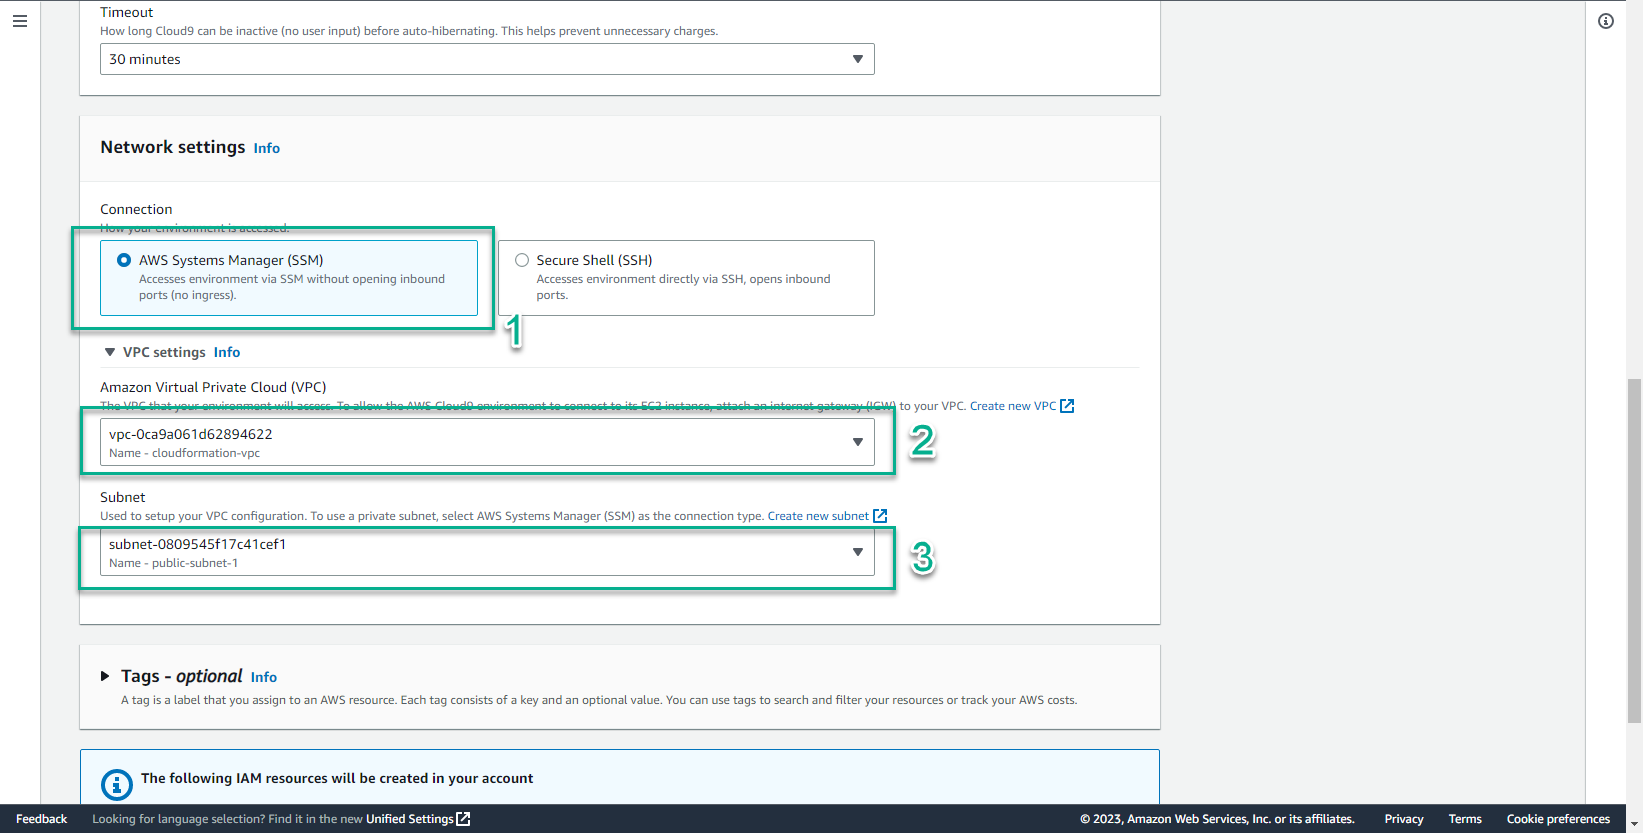
- Kiểm tra cài đặt cfn-lint thành công bằng cách dùng lệnh sau:
cfn-lint --version
- Cài đặt taskcat
pip install taskcat
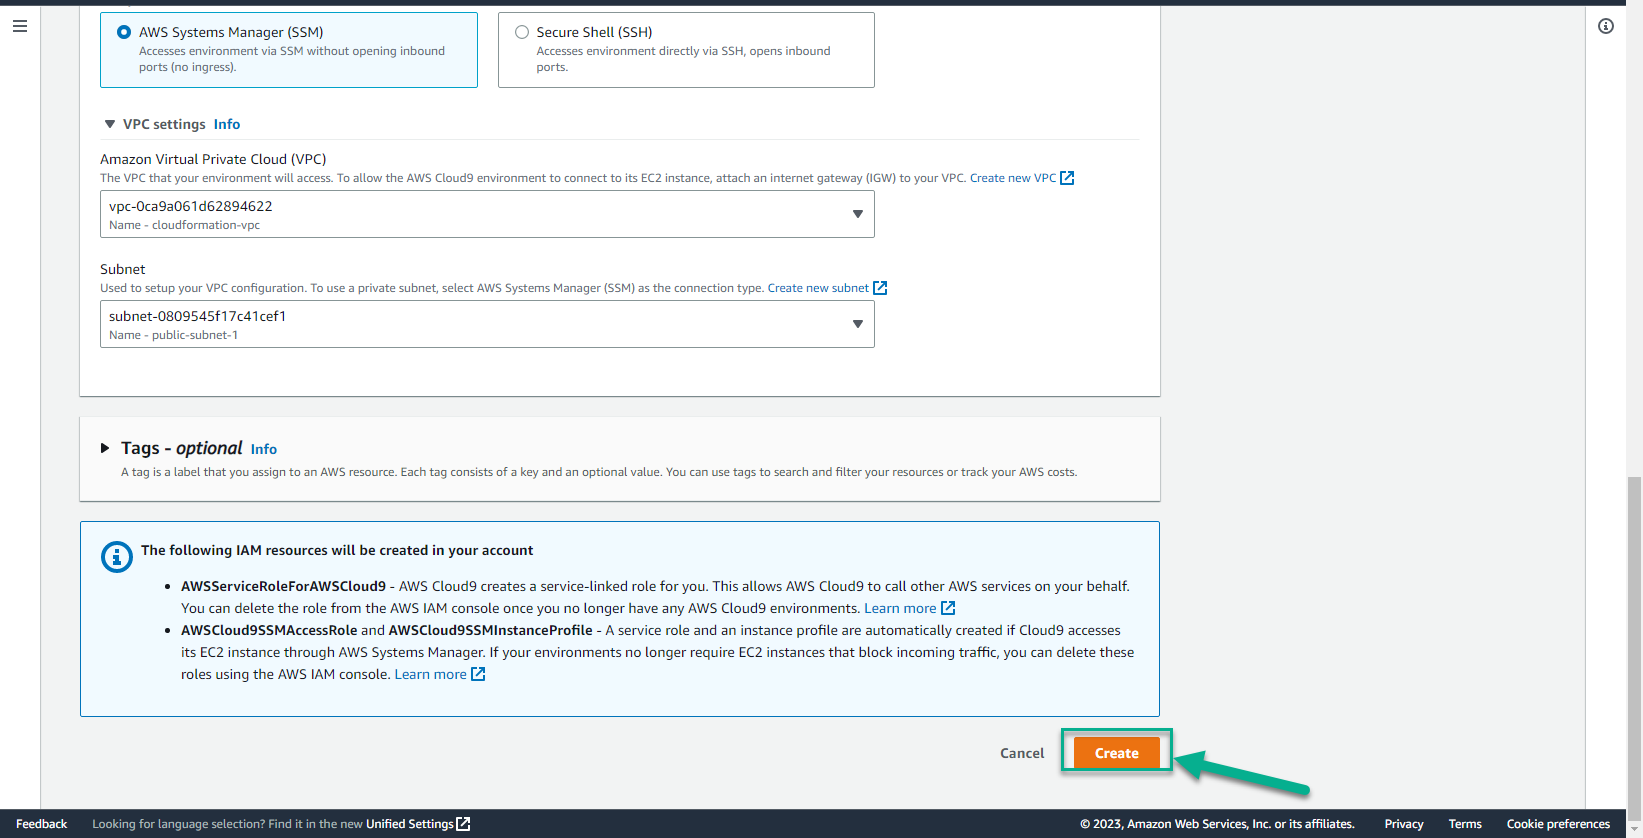
- Chúng ta sẽ cấu hình aws cli sử dụng Region hiện tại.
export ACCOUNT_ID=$(aws sts get-caller-identity --output text --query Account)
export AWS_REGION=$AWS_REGION
export AZS=($(aws ec2 describe-availability-zones --query 'AvailabilityZones[].ZoneName' --output text --region $AWS_REGION))
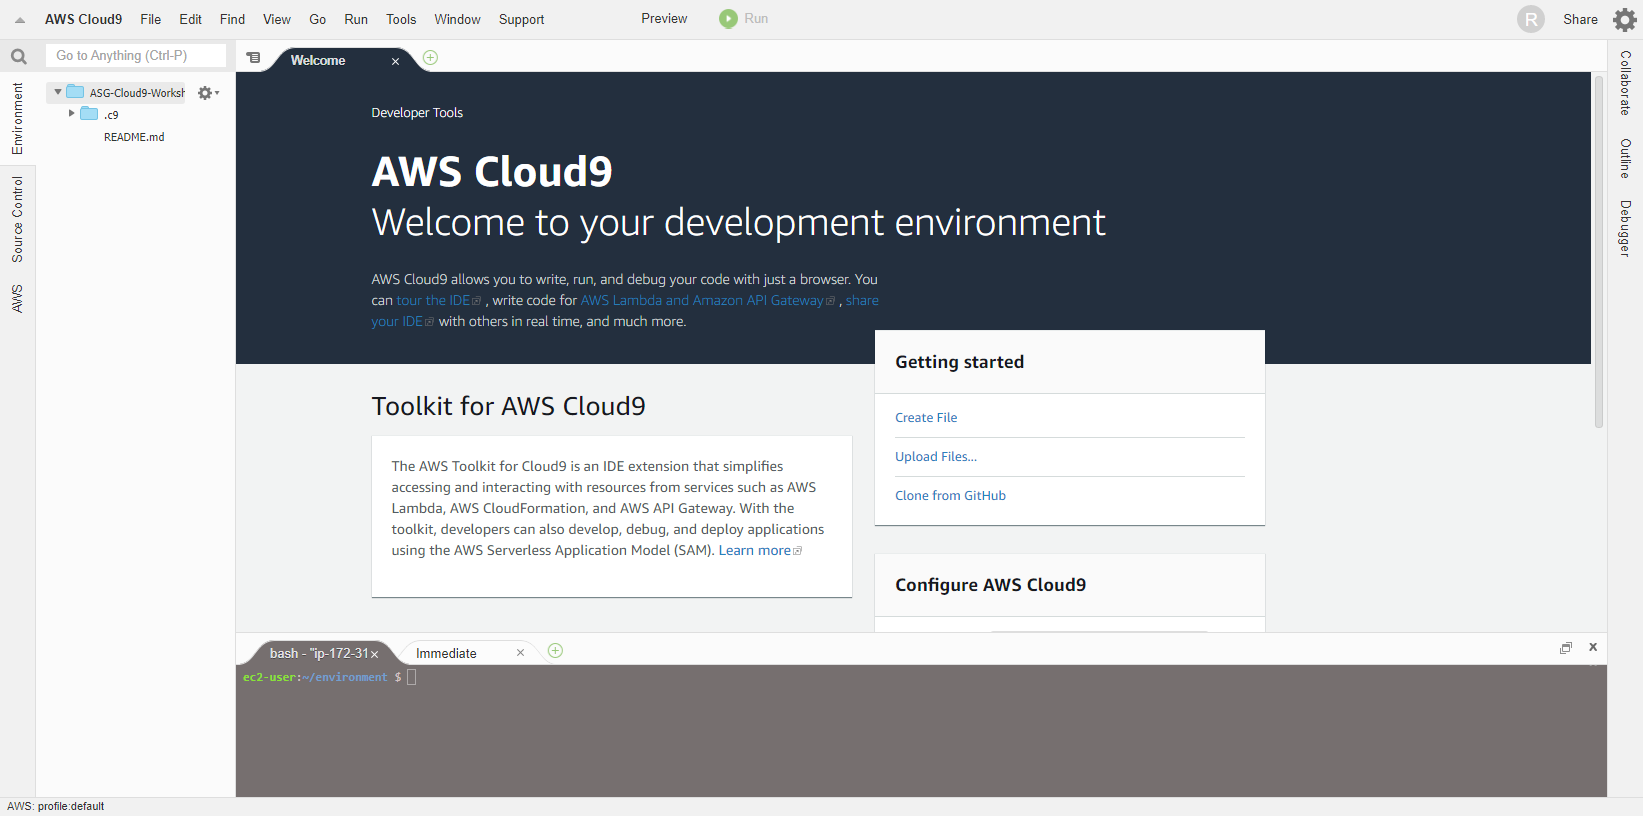
- Chúng ta sẽ lưu các thông tin cấu hình vào bash_profile
echo "export ACCOUNT_ID=$ACCOUNT_ID" | tee -a ~/.bash_profile
echo "export AWS_REGION=$AWS_REGION" | tee -a ~/.bash_profile
echo "export AZS=${AZS[@]}" | tee -a ~/.bash_profile
aws configure set default.region $AWS_REGION
aws configure get default.region