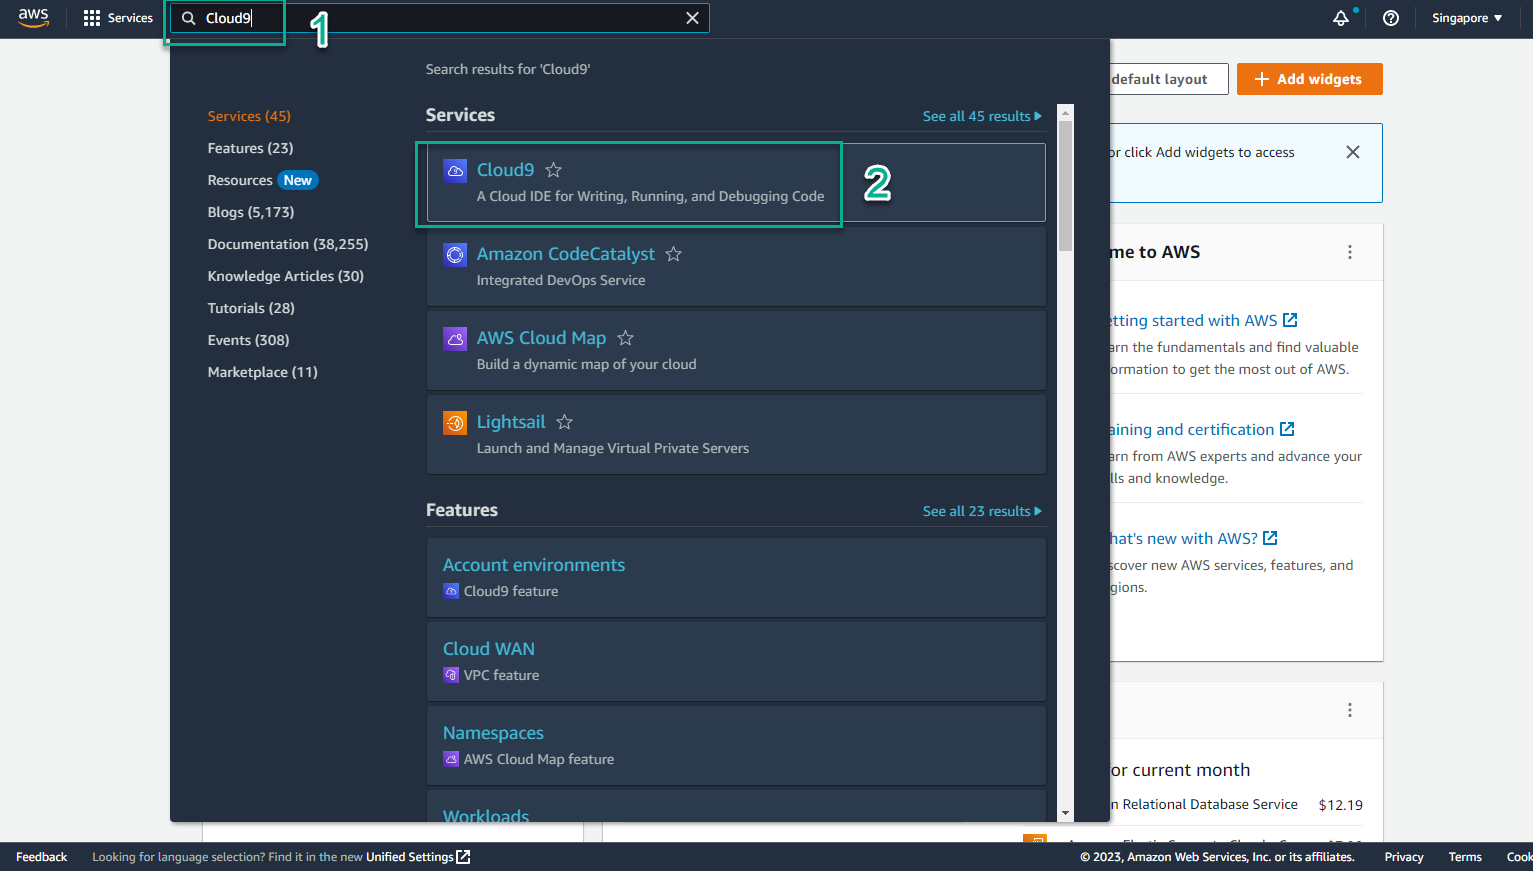
Launch CloudShell
Launch CloudShell
- Access the interface AWS Management Console
- On the navigation bar in the top right corner, click the CloudShell icon (
>_).
- Wait a moment for AWS CloudShell to initialize the environment (usually takes about 10-30 seconds).
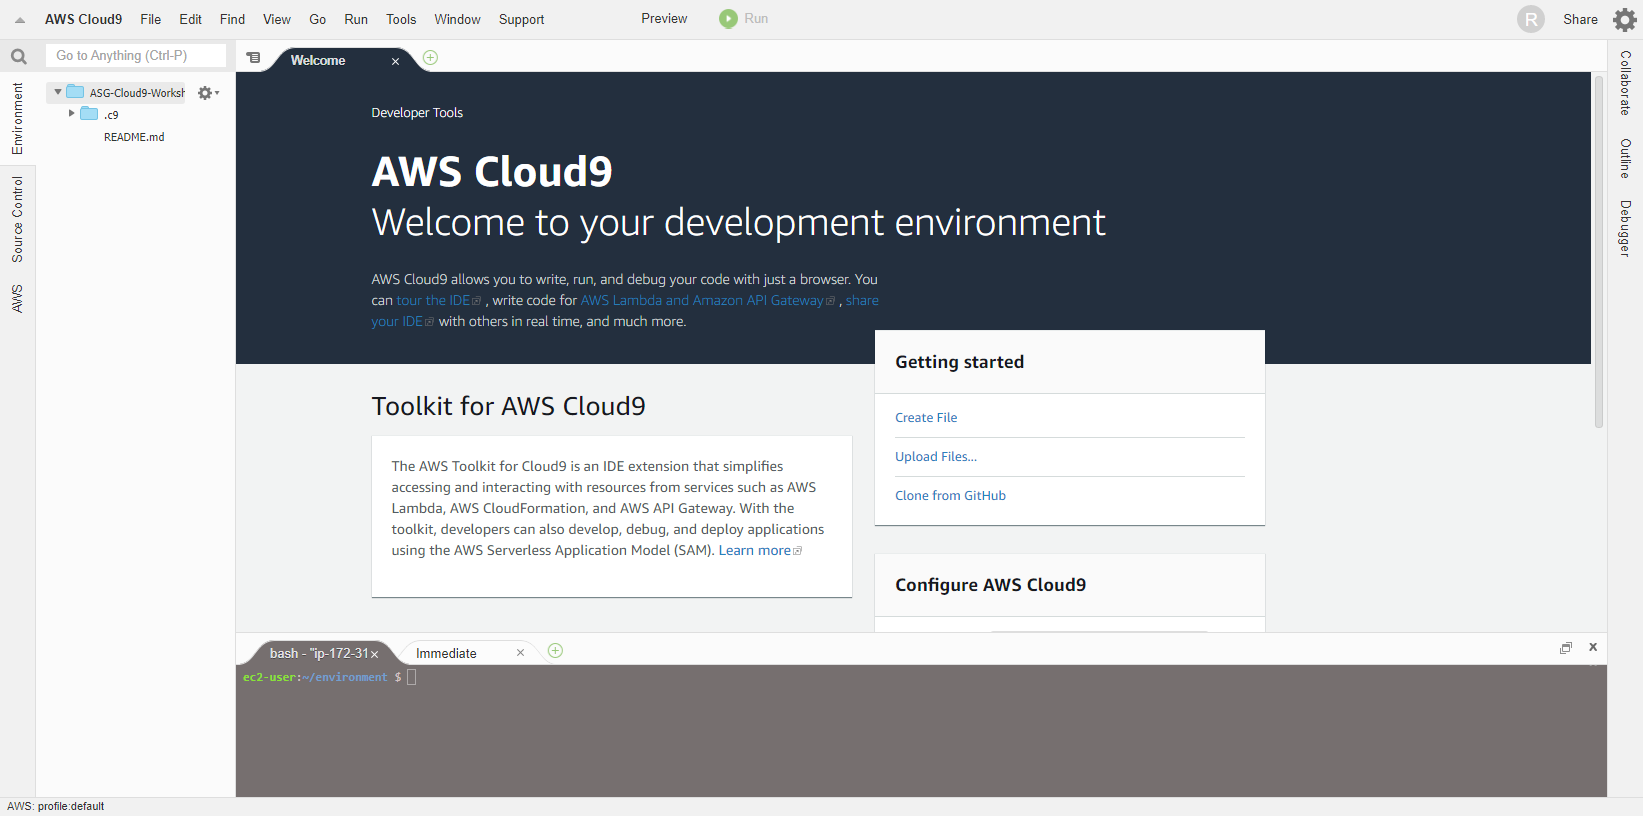
The command line environment interface appears. CloudShell comes pre-integrated with the AWS CLI, and you are automatically authenticated with the permissions of the IAM User you are logged in as.
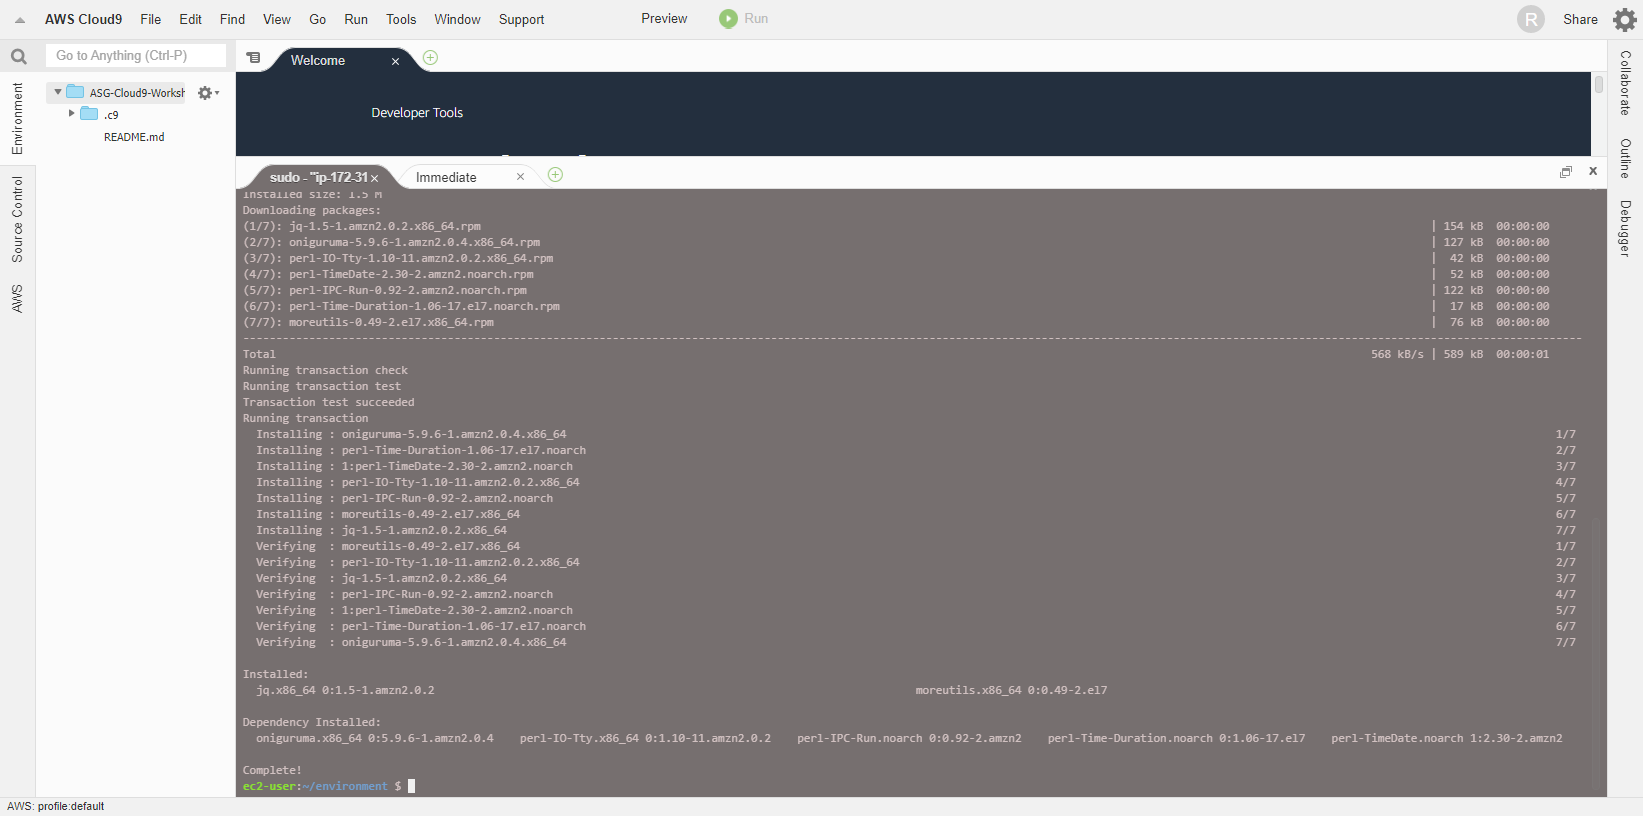
Copy and Paste the command below into the Terminal of CloudShell to install tools to support text processing on the command line.
sudo yum -y install jq gettext bash-completion
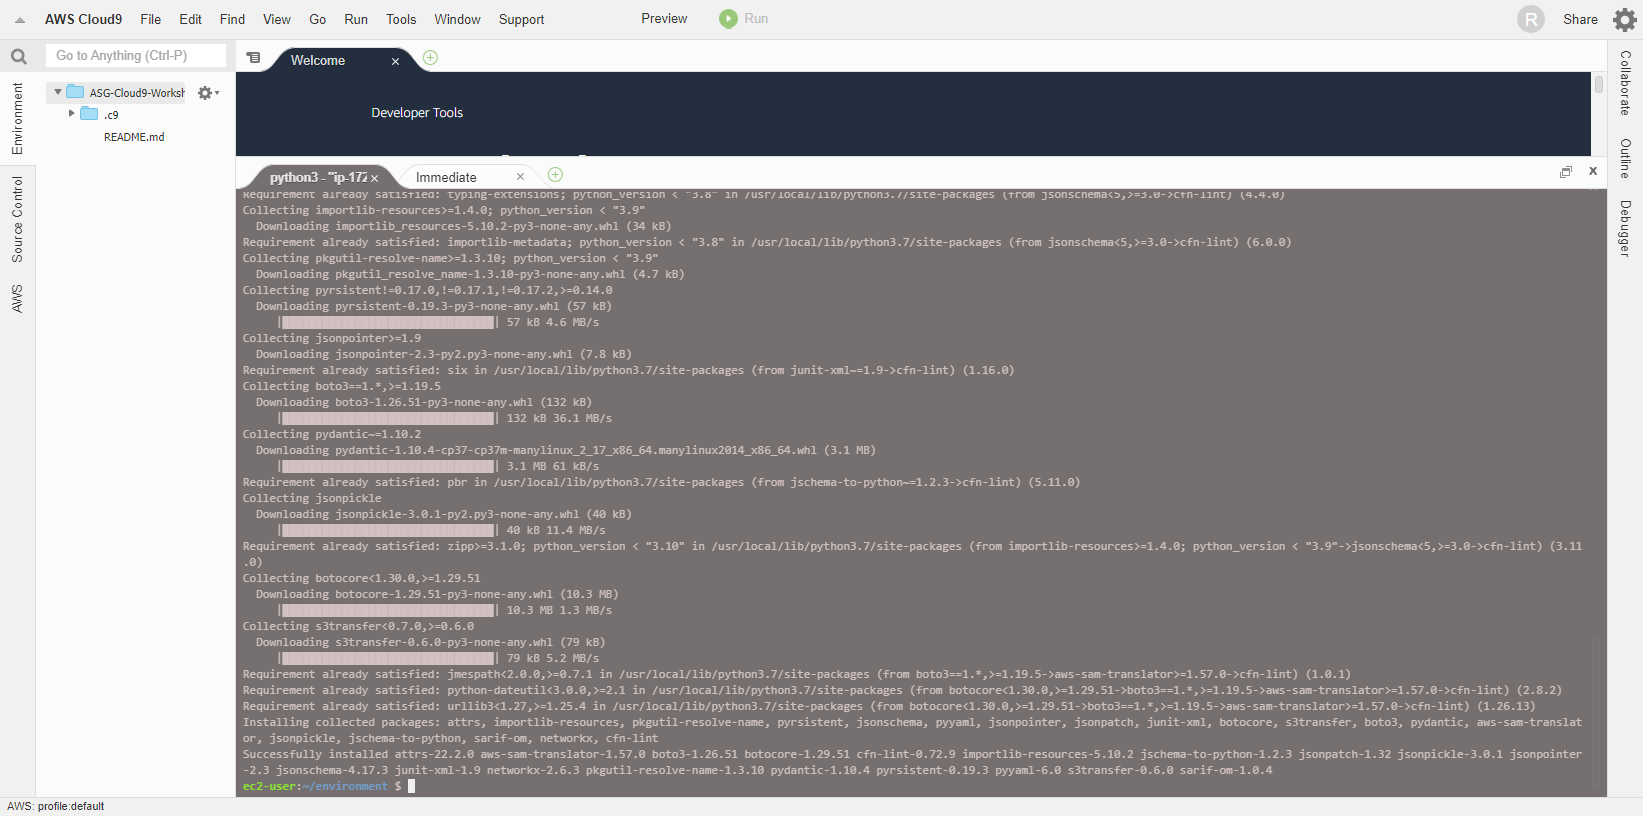
- Install tool cfn-lint - a tool to help you check CloudFormation yaml/json templates and other information.
pip install cfn-lint
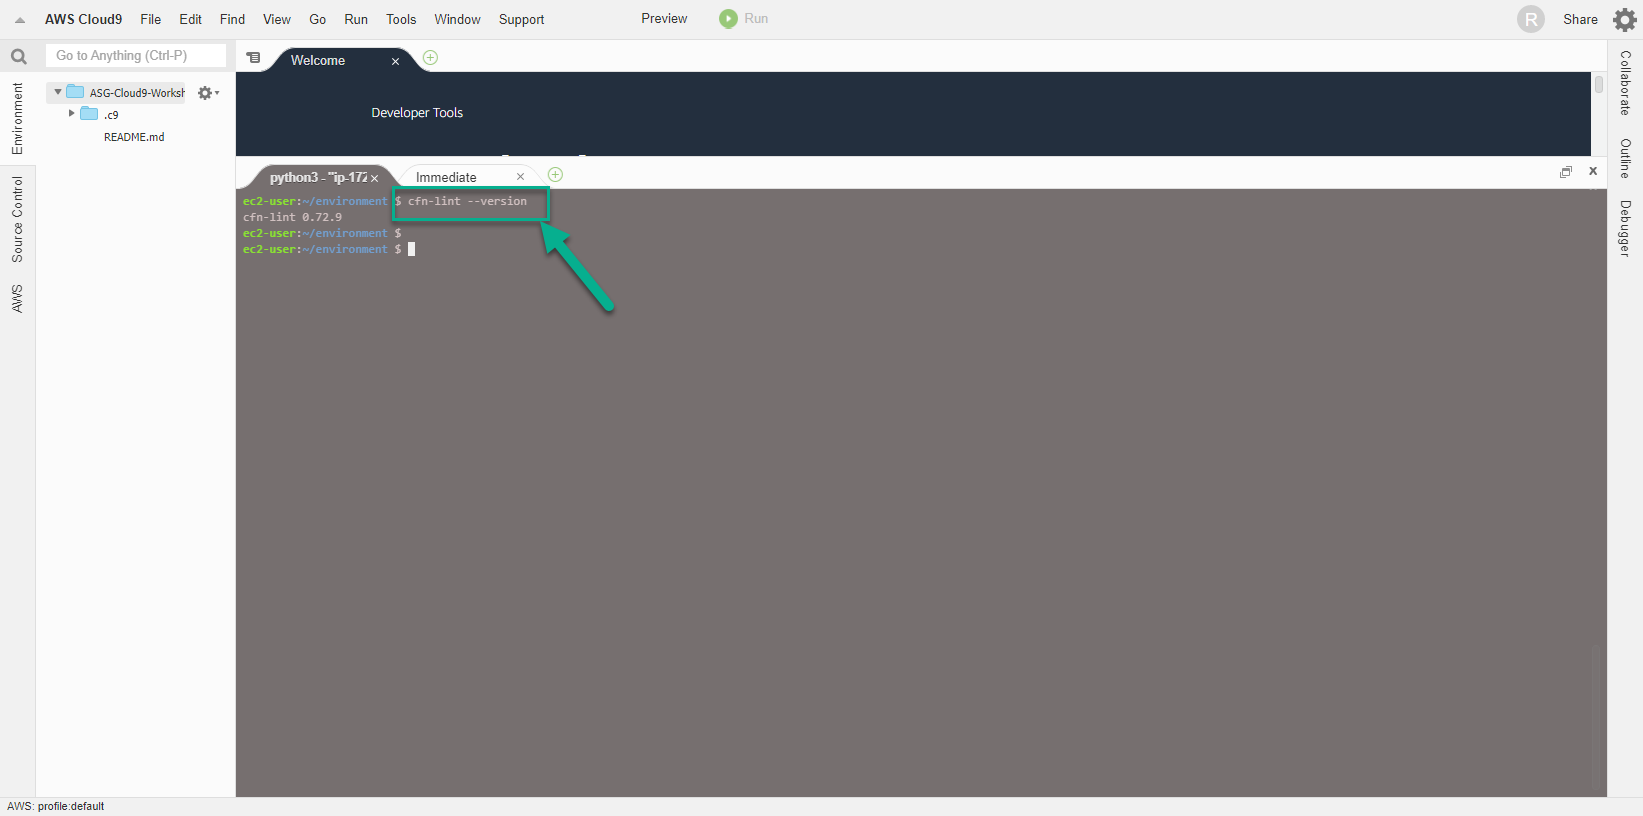
- Check the cfn-lint installation is successful using the following command:
cfn-lint --version
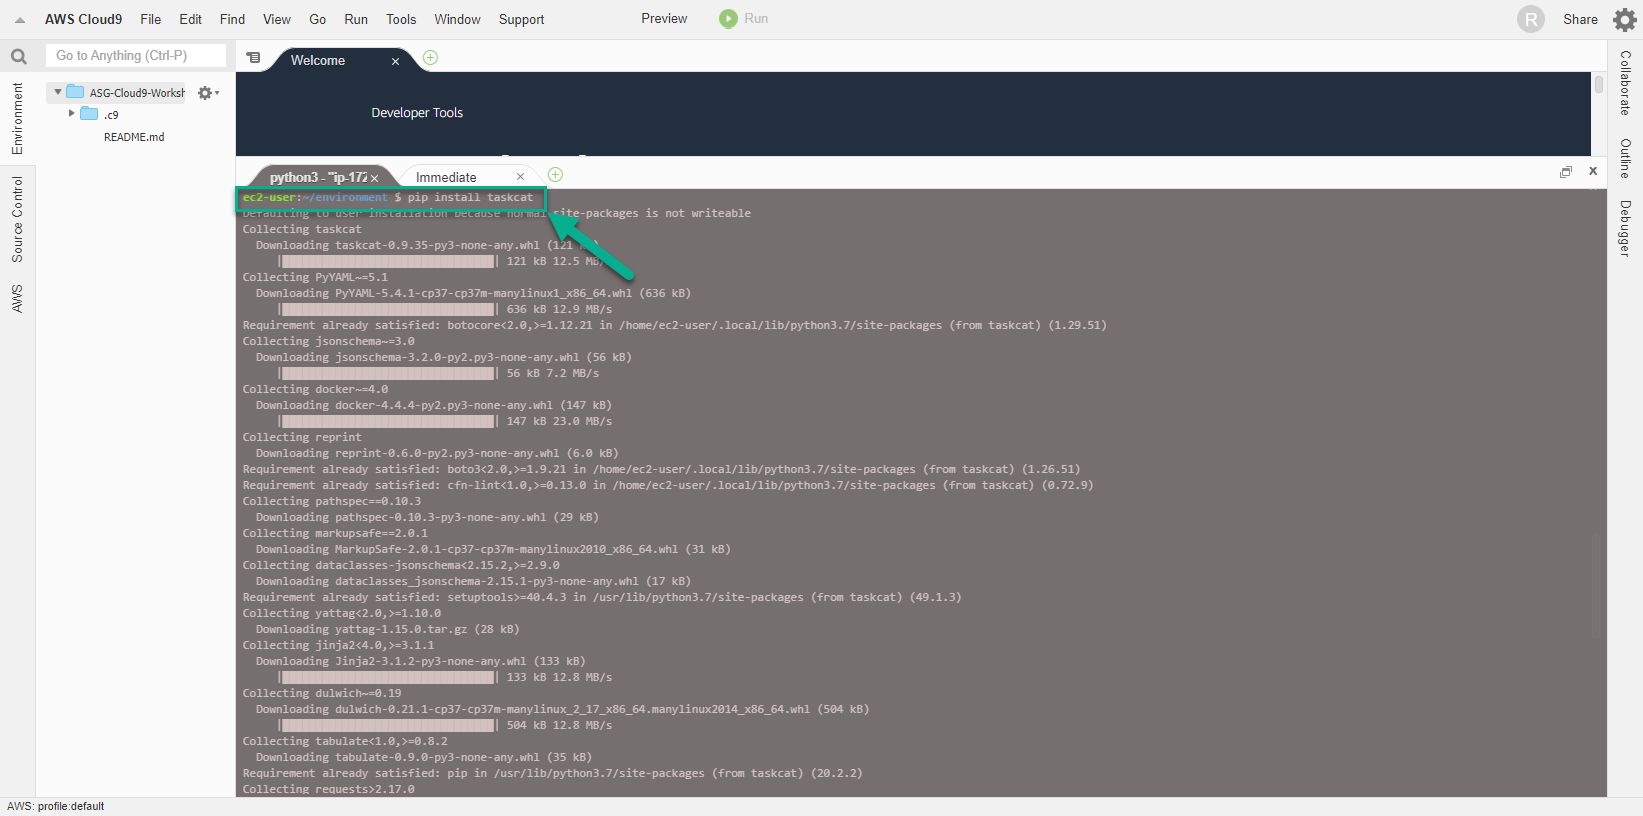
- Install taskcat
pip install taskcat
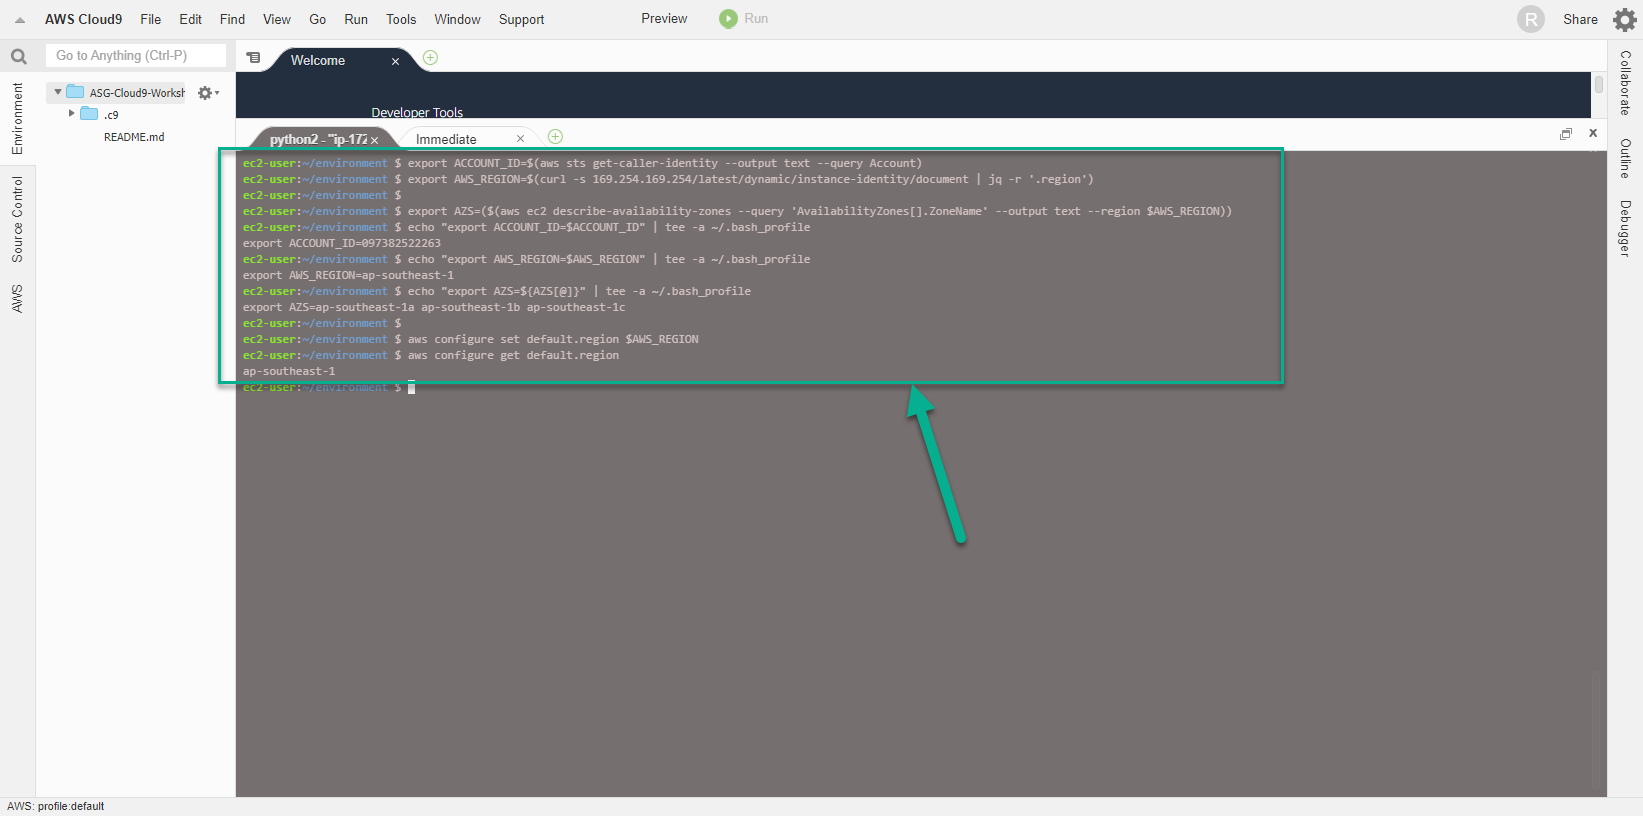
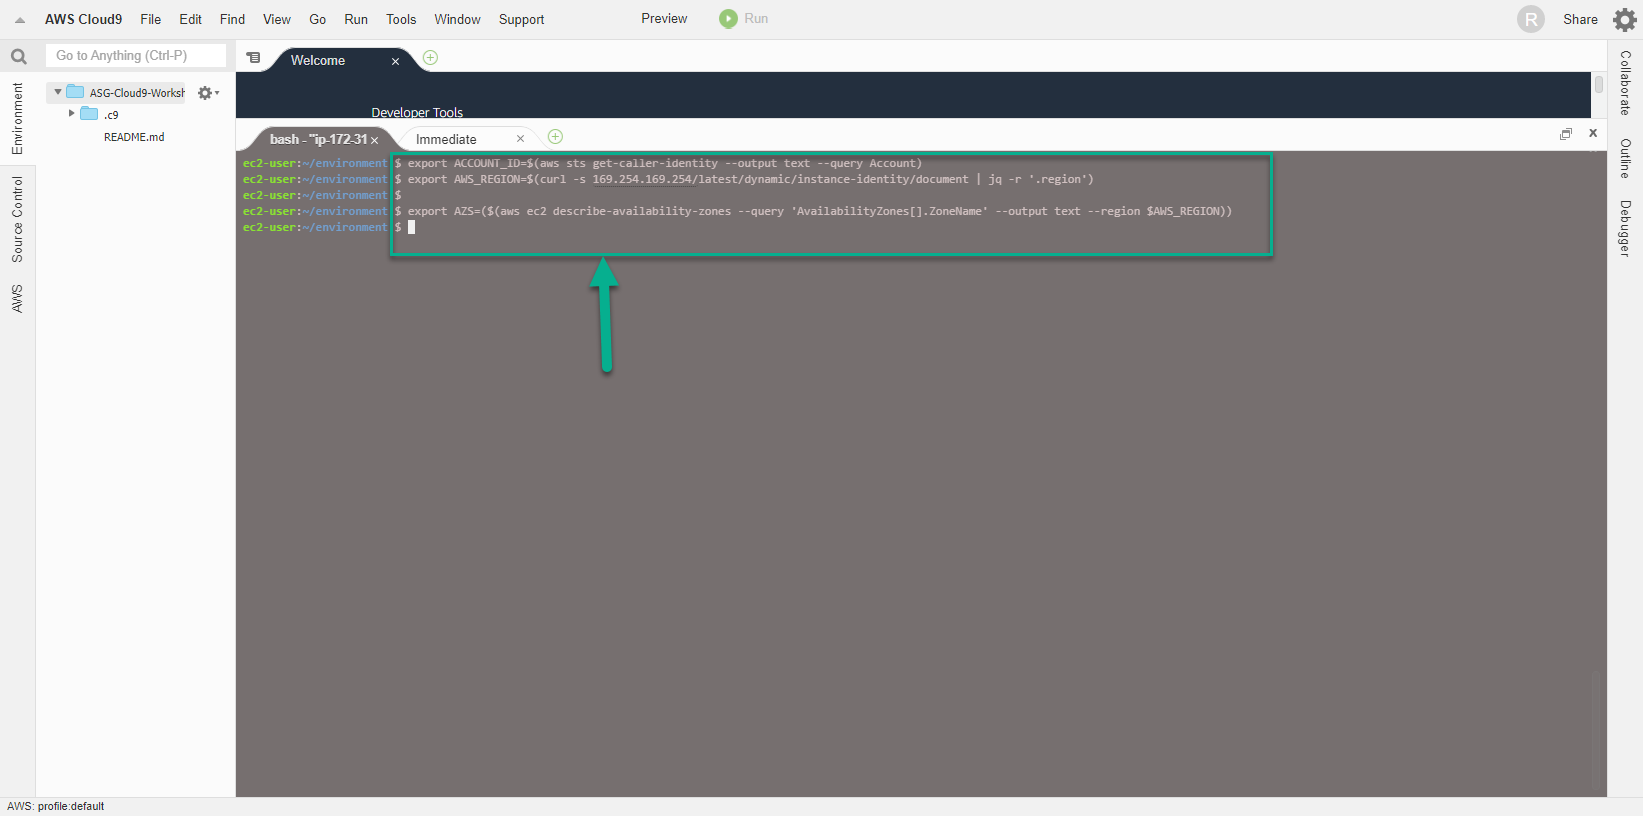
- We will configure the aws cli to use the current Region.
export ACCOUNT_ID=$(aws sts get-caller-identity --output text --query Account)
export AWS_REGION=$AWS_REGION
export AZS=($(aws ec2 describe-availability-zones --query 'AvailabilityZones[].ZoneName' --output text --region $AWS_REGION))
- We will save the configuration information to bash_profile
echo "export ACCOUNT_ID=$ACCOUNT_ID" | tee -a ~/.bash_profile
echo "export AWS_REGION=$AWS_REGION" | tee -a ~/.bash_profile
echo "export AZS=${AZS[@]}" | tee -a ~/.bash_profile
aws configure set default.region $AWS_REGION
aws configure get default.region